Manage User Roles and Permissions in MCP360
This docs explains how to assign roles and manage user permissions in MCP360. You’ll learn how to control access across your workspace to keep projects secure and organized.
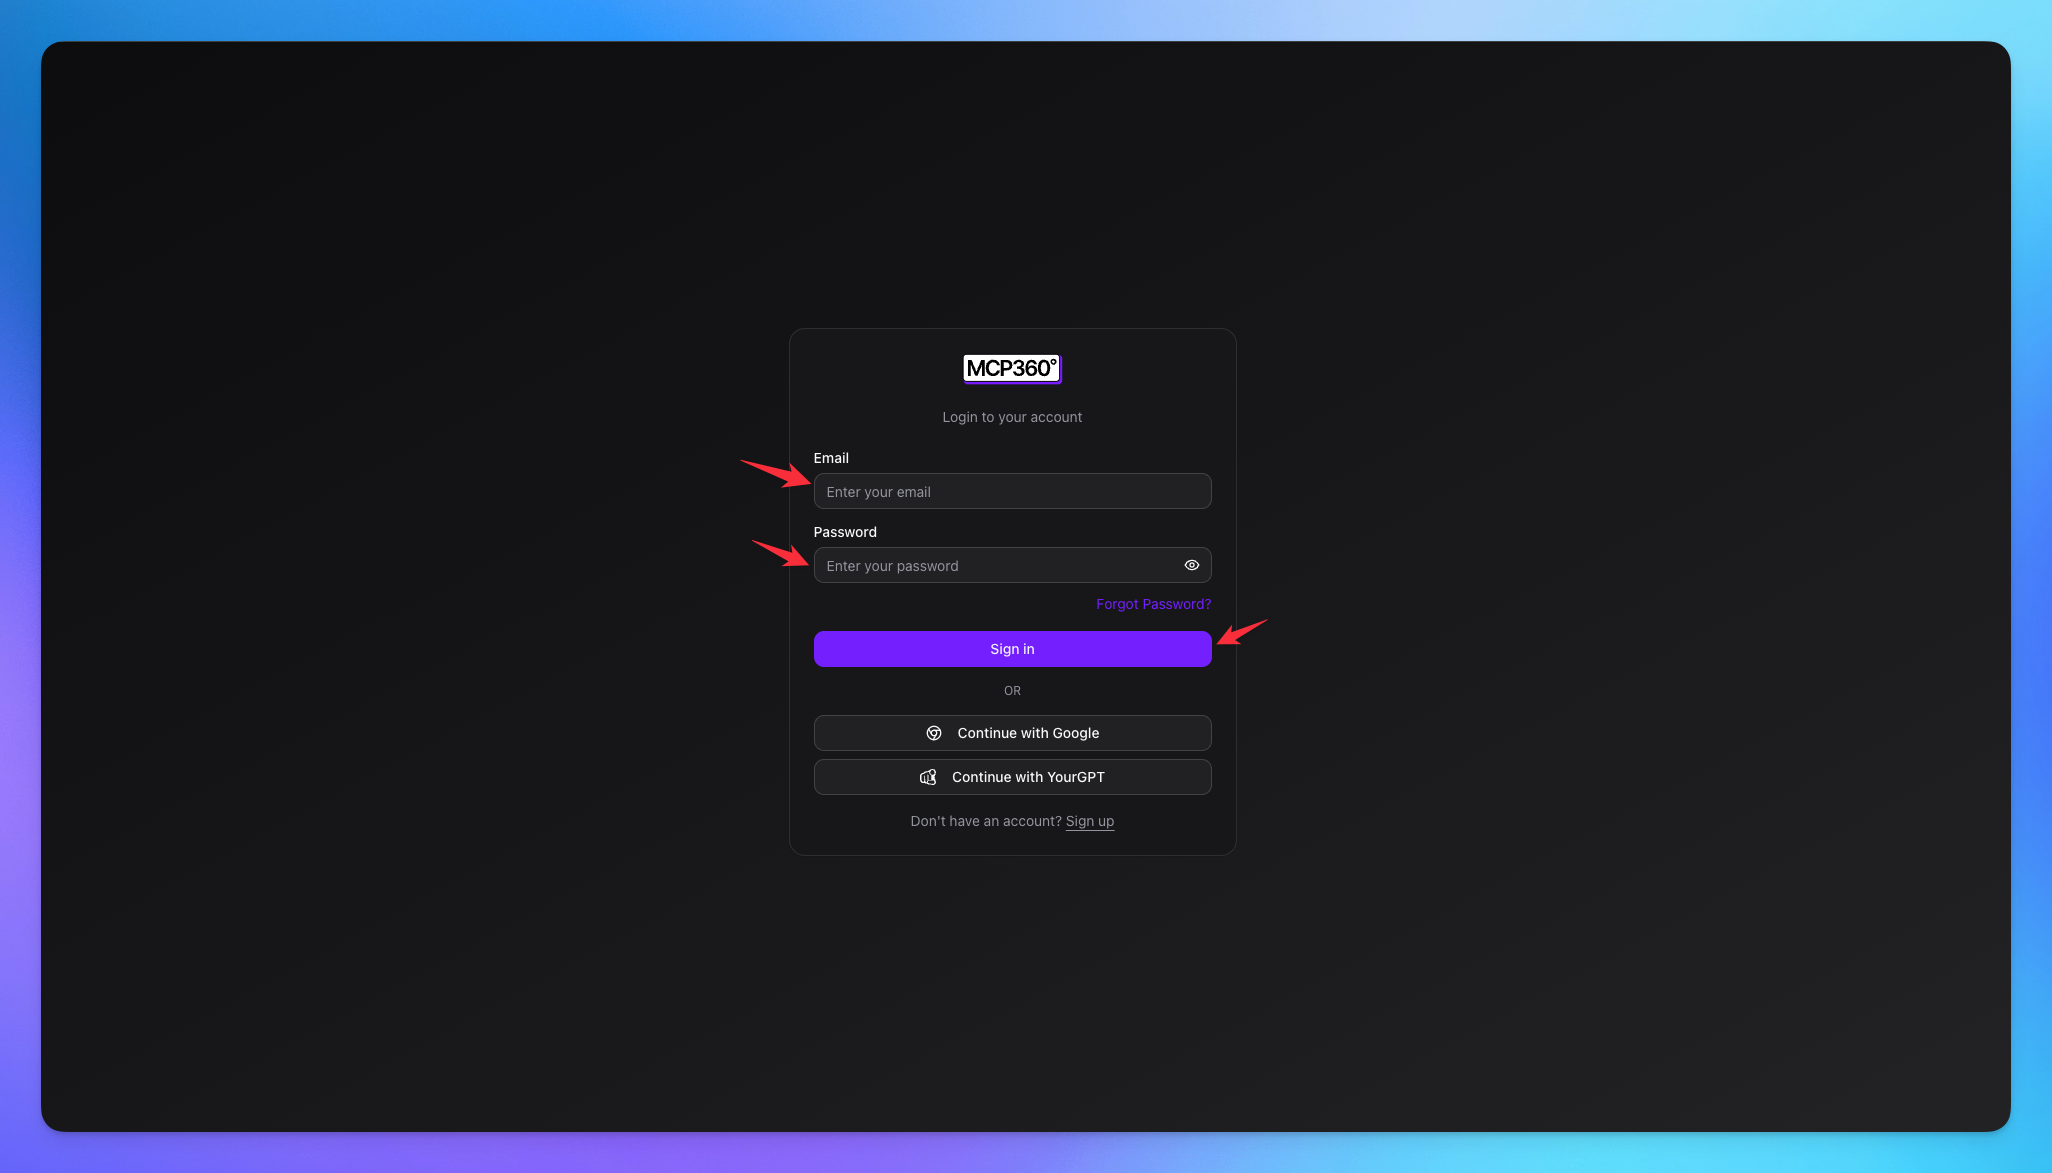
Login to MCP360
Login to you mcp360 account.
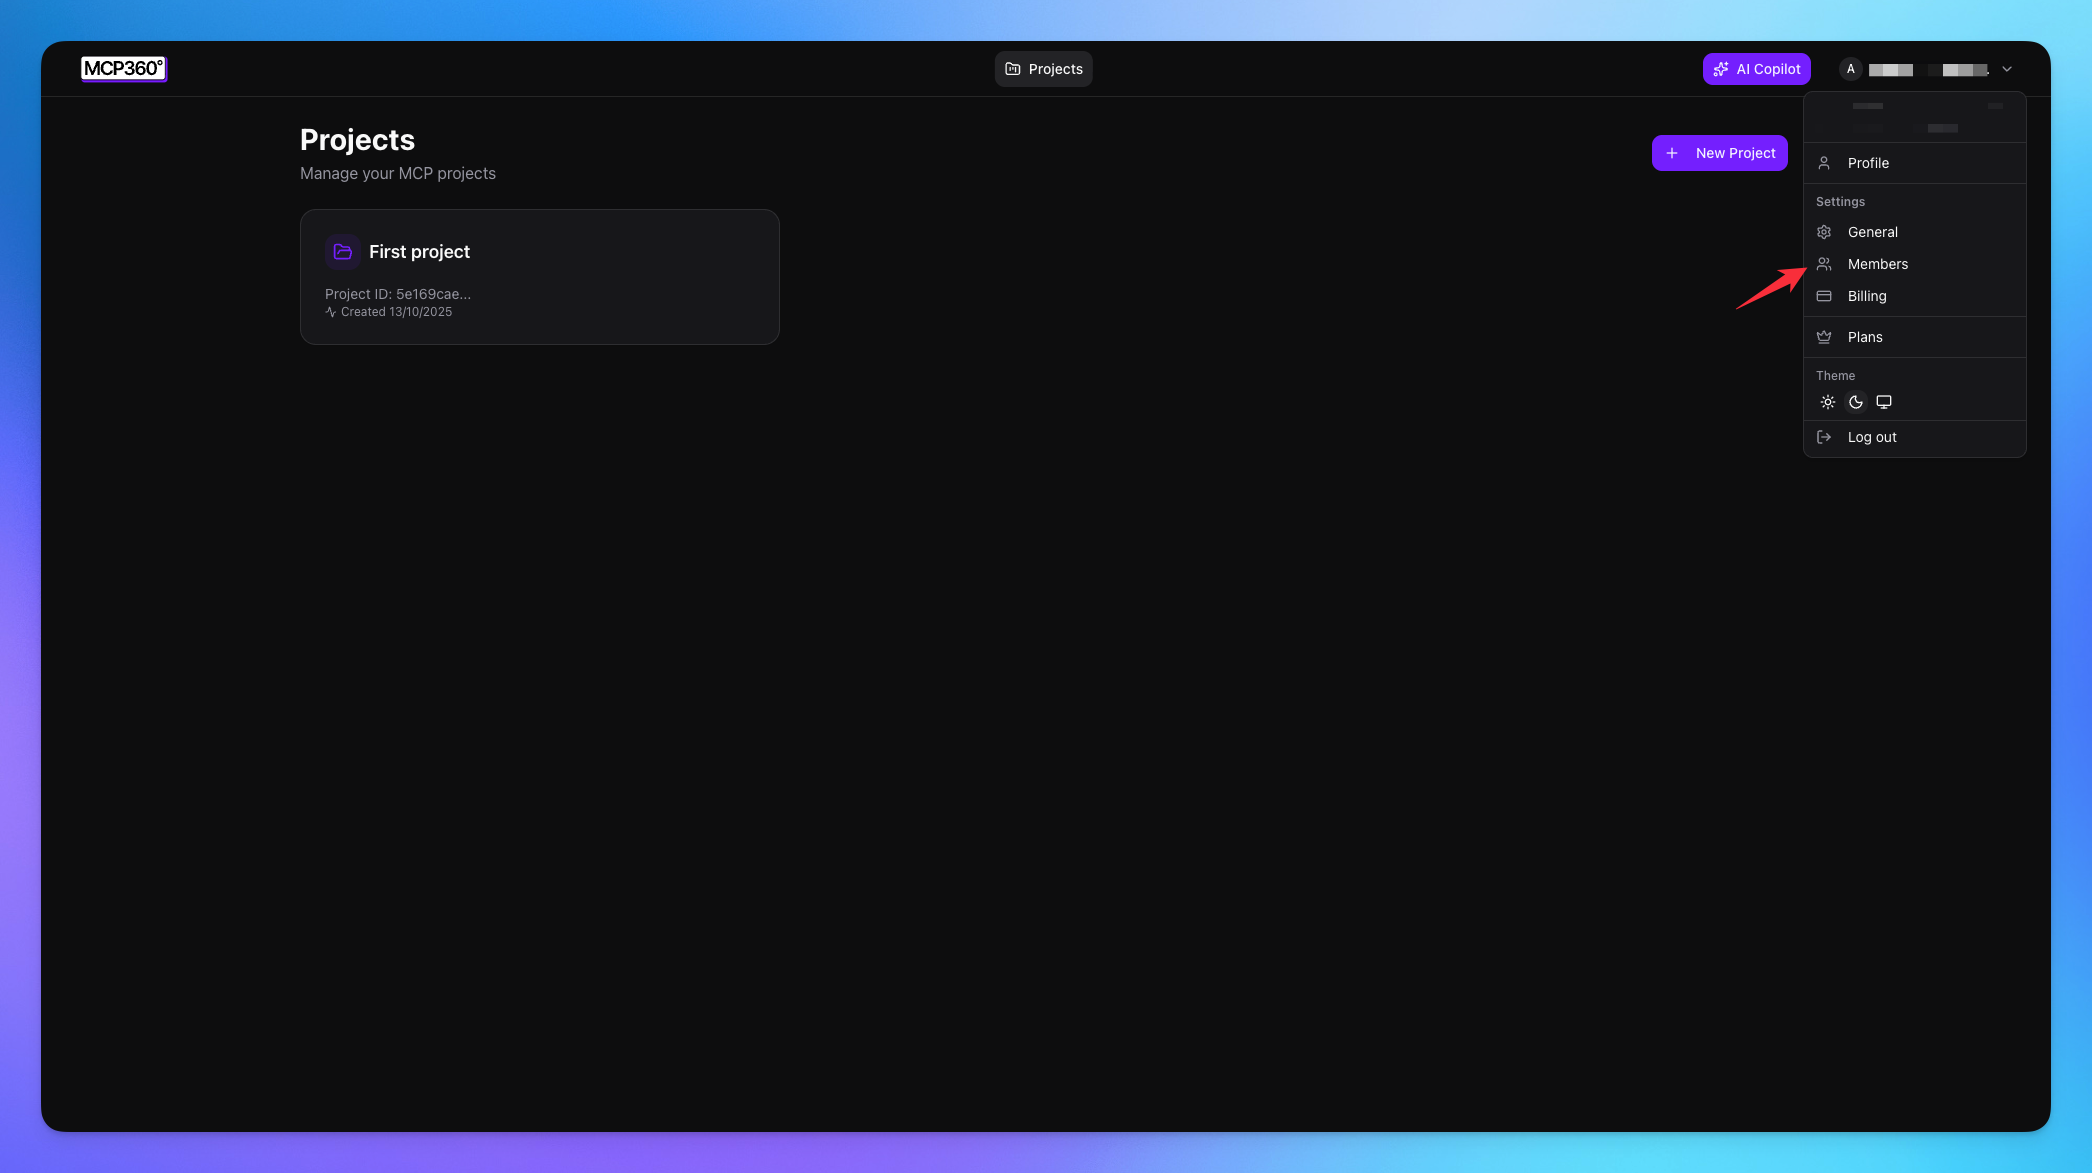
Navigate to Members
Click on the profile button.
Select the Members option.
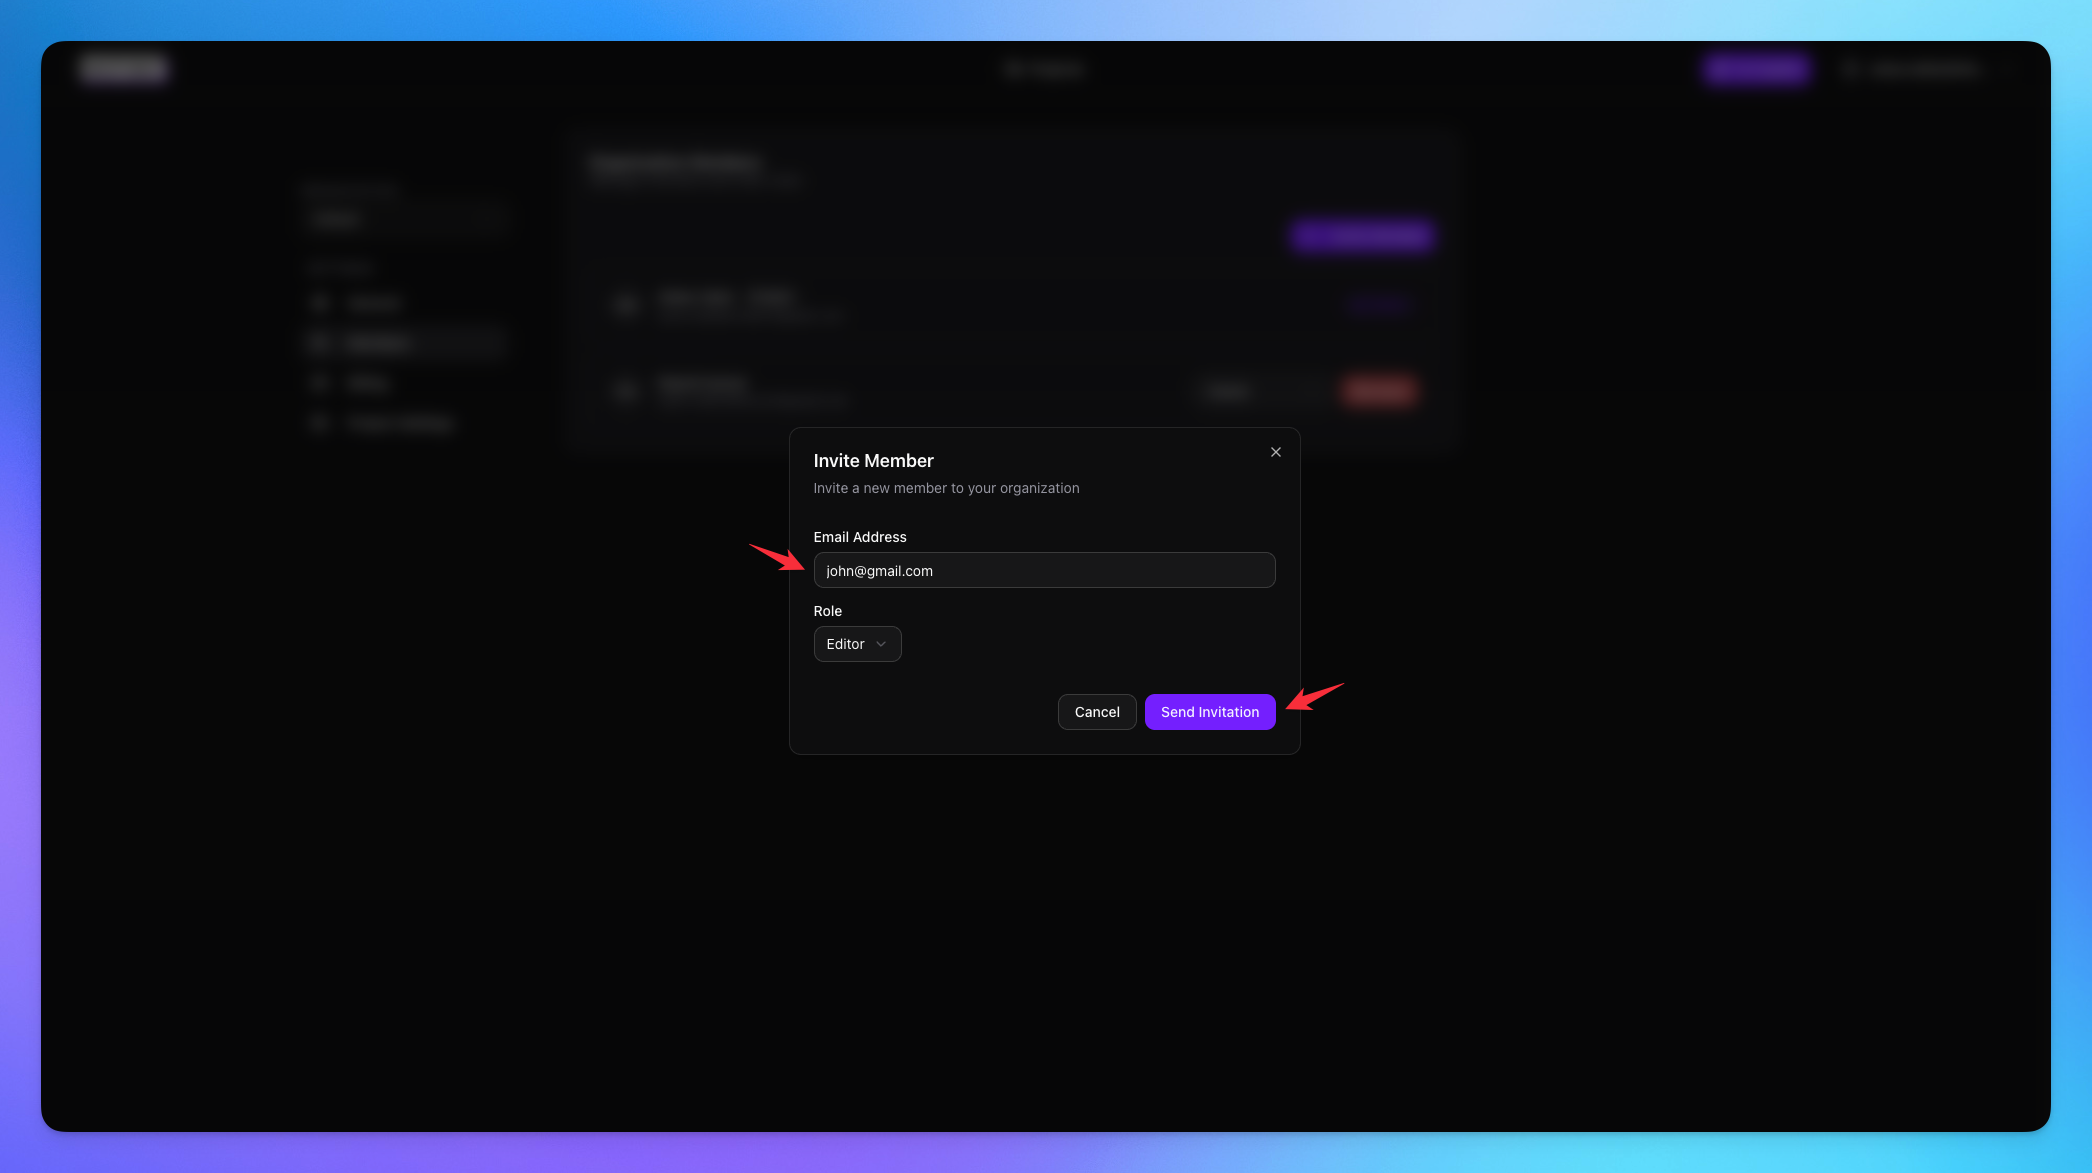
Add Member In Organization
Click on invite member button.

Select the role for member.
Add the email of user.
Sent the invitation.
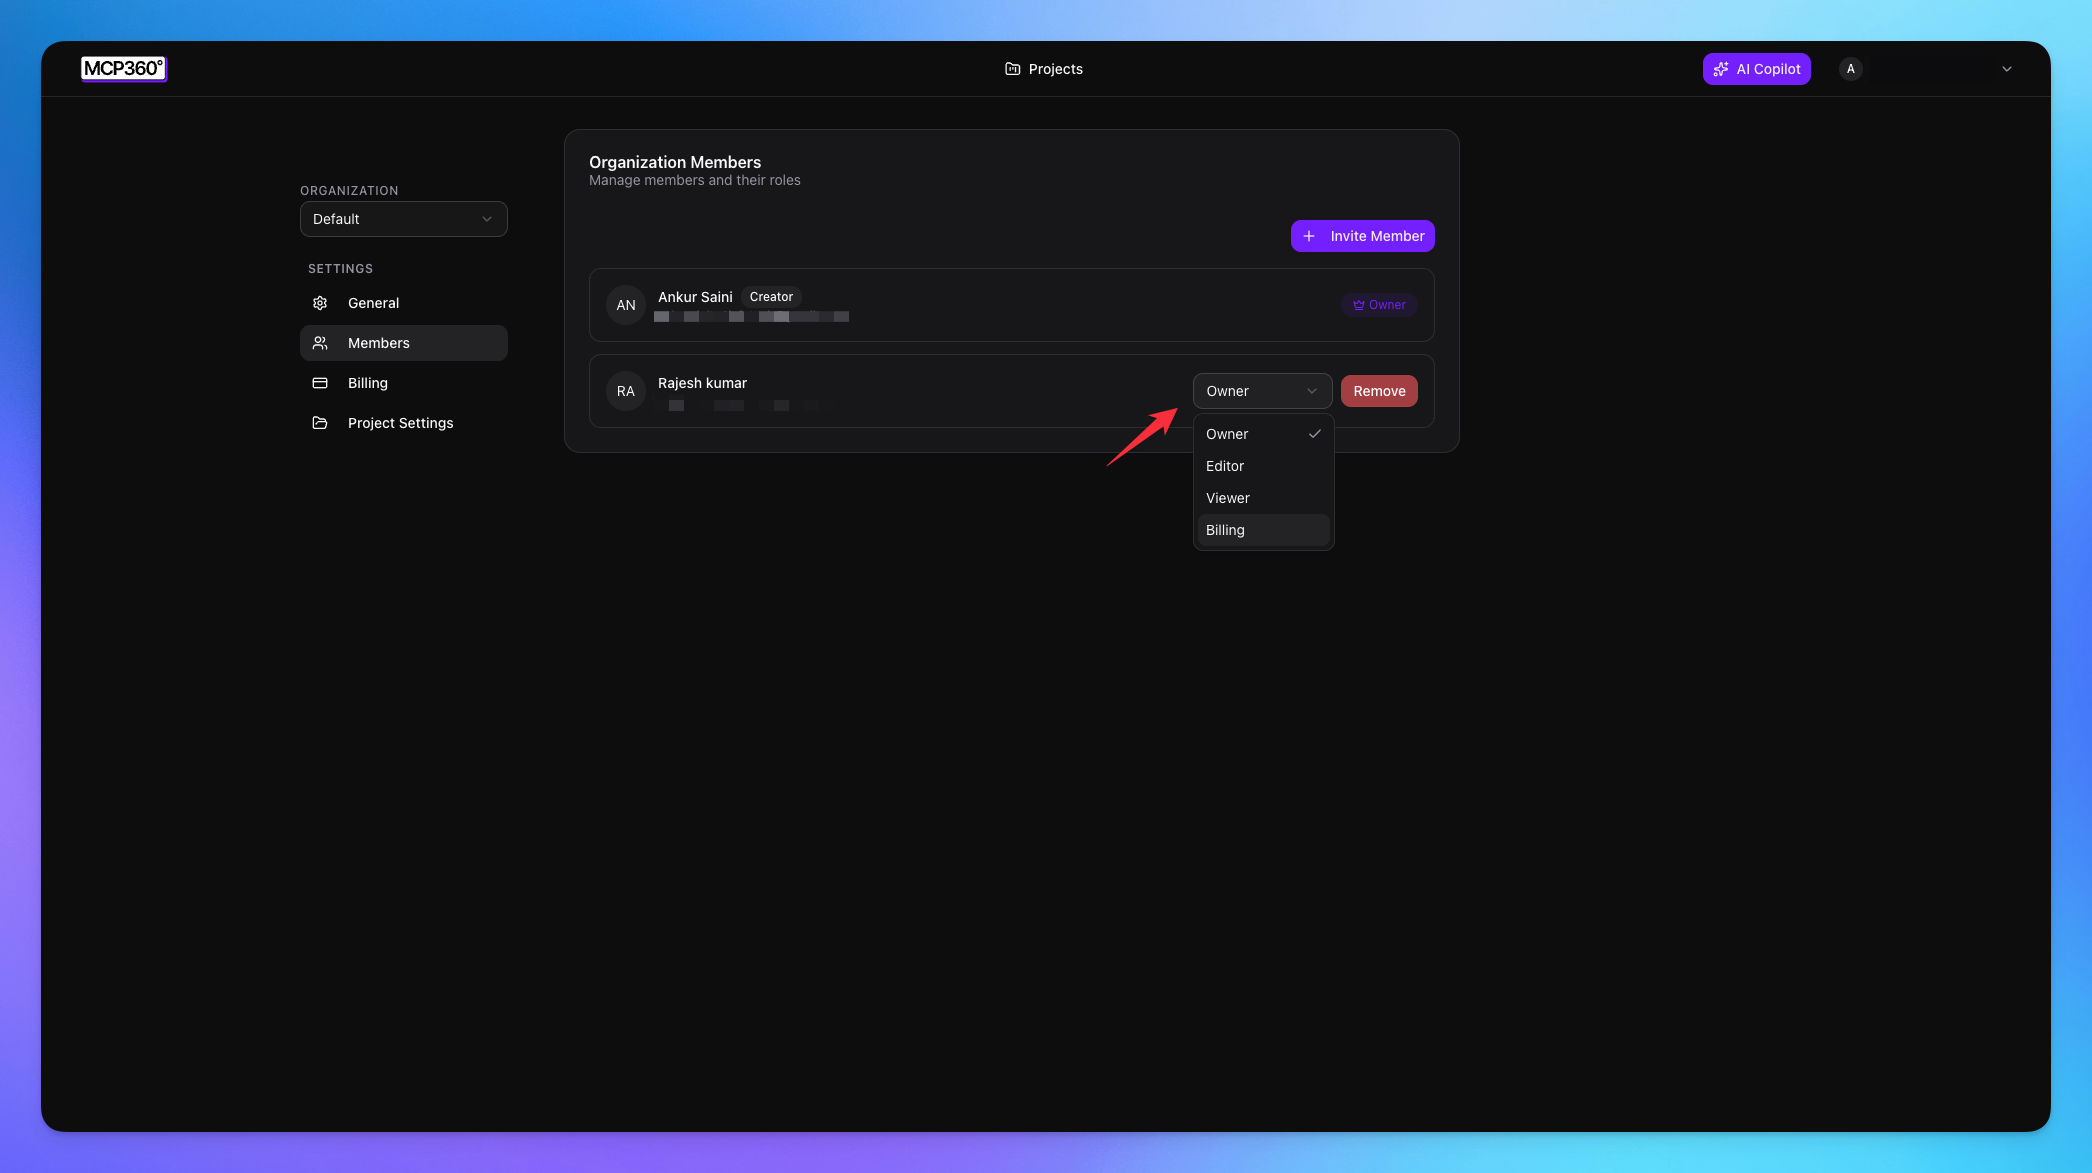
Change Member Role
Go to Members from your MCP360 dashboard.
Locate the member whose role you want to update.
Click the role dropdown next to their name.
Select the new role (Owner, Editor, Viewer, or Billing).
The updated permissions apply immediately across the organization.
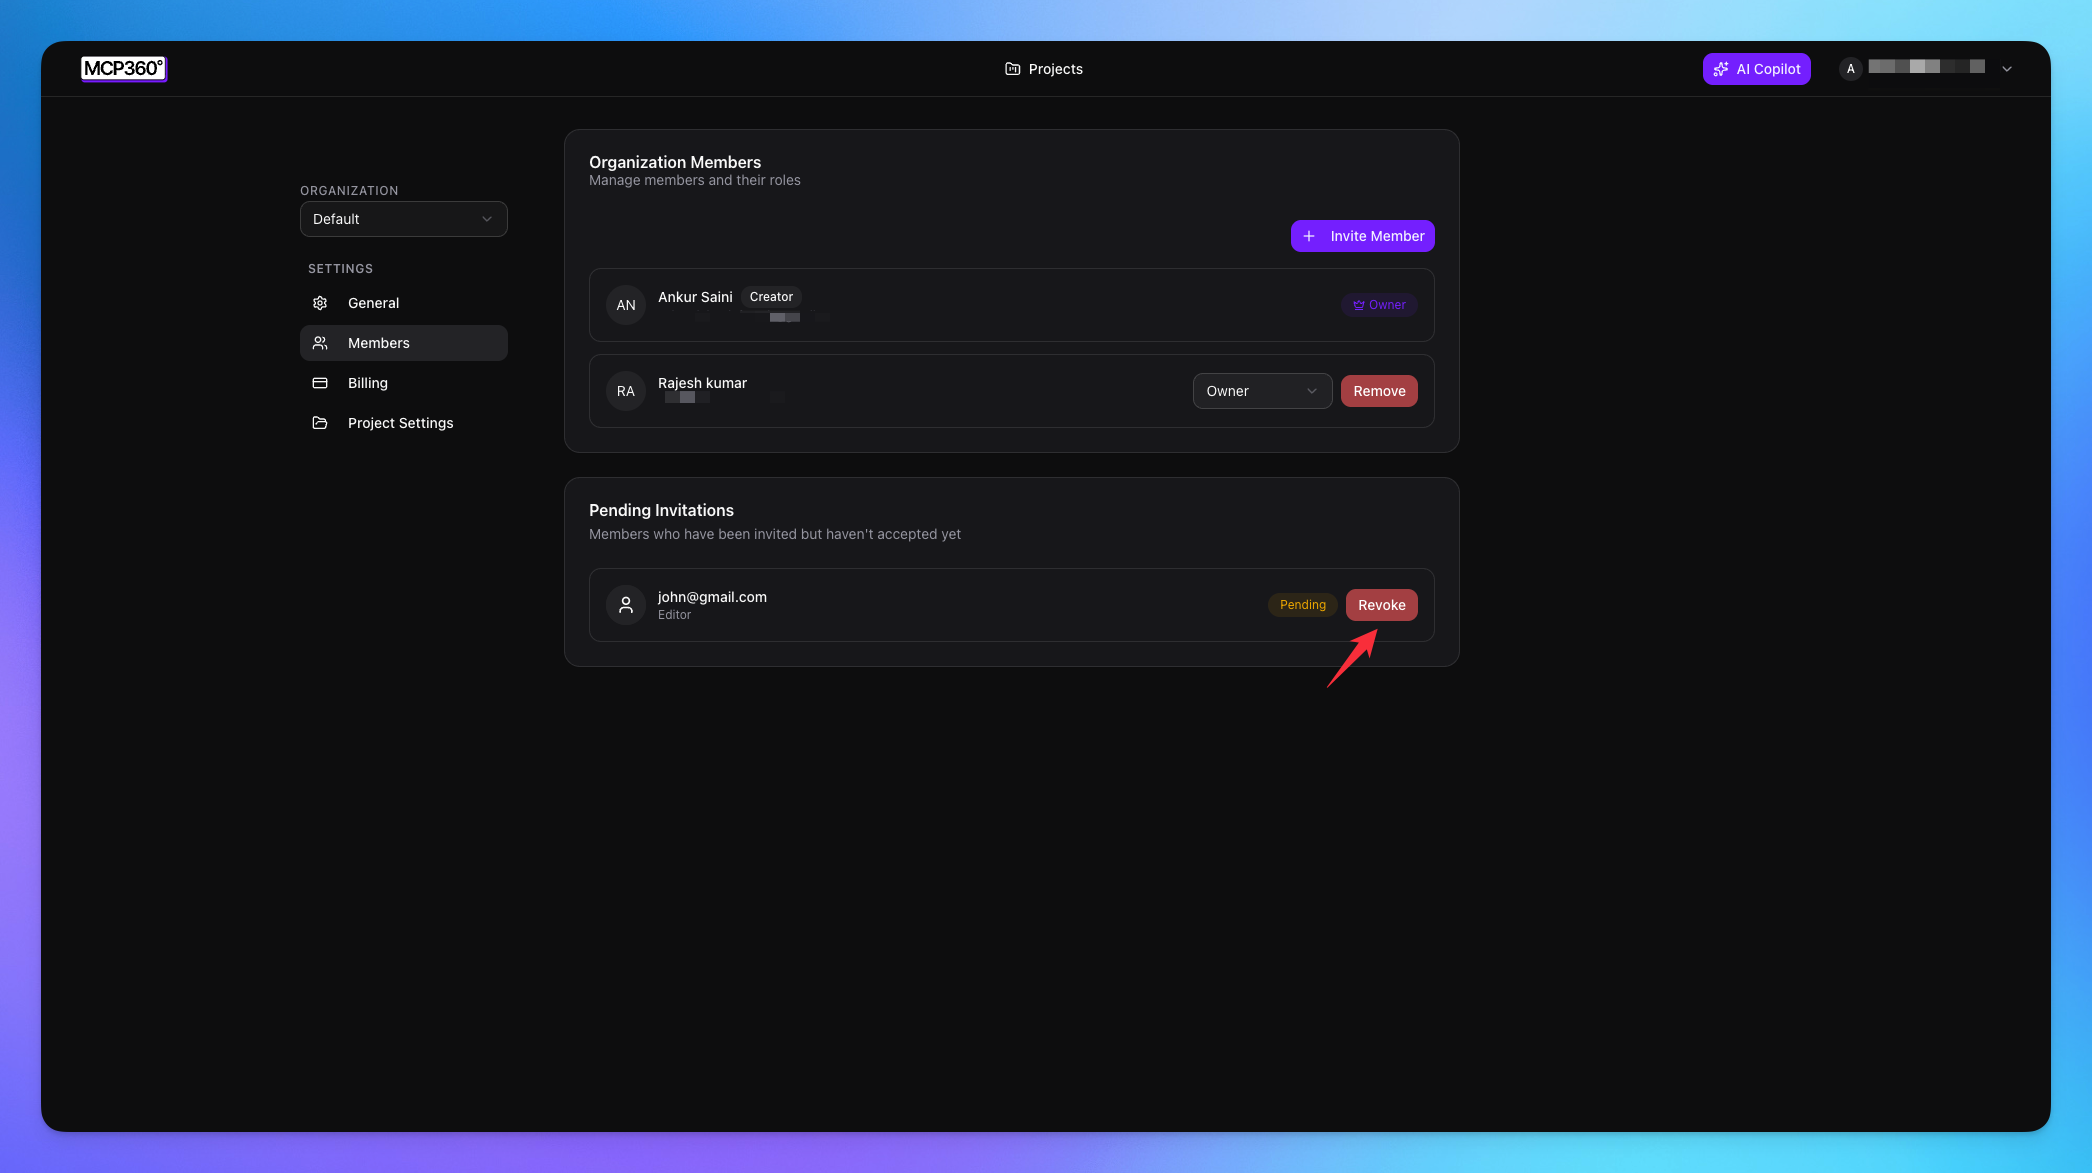
Revoke Invitation
All sent invitations are visible on the Members page.
Click the Revoke button to cancel an invitation at any time.
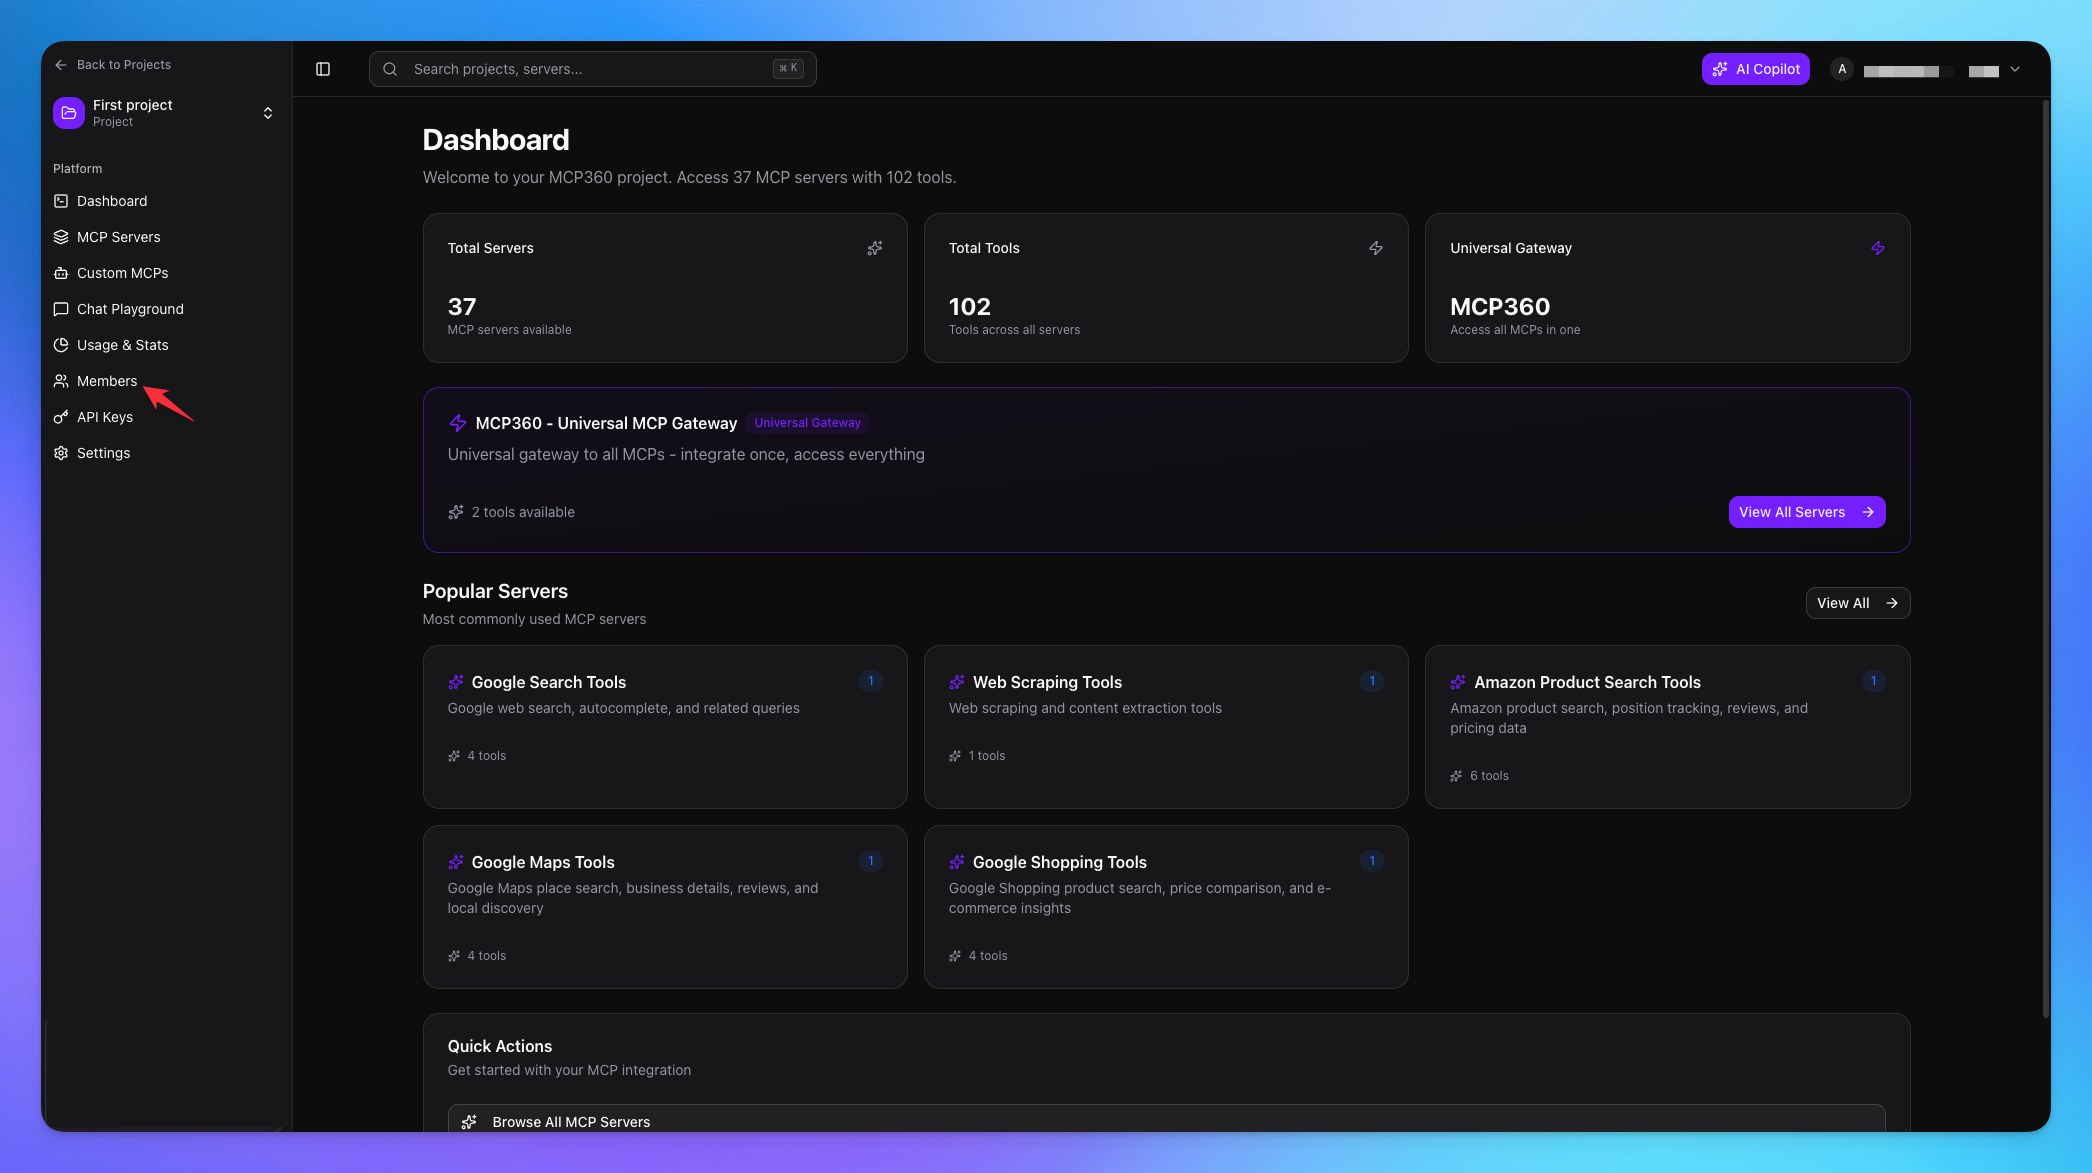
Project-Specific User Roles in MCP360
Select any project to open its dashboard.
Navigate to the Members option from the sidebar.
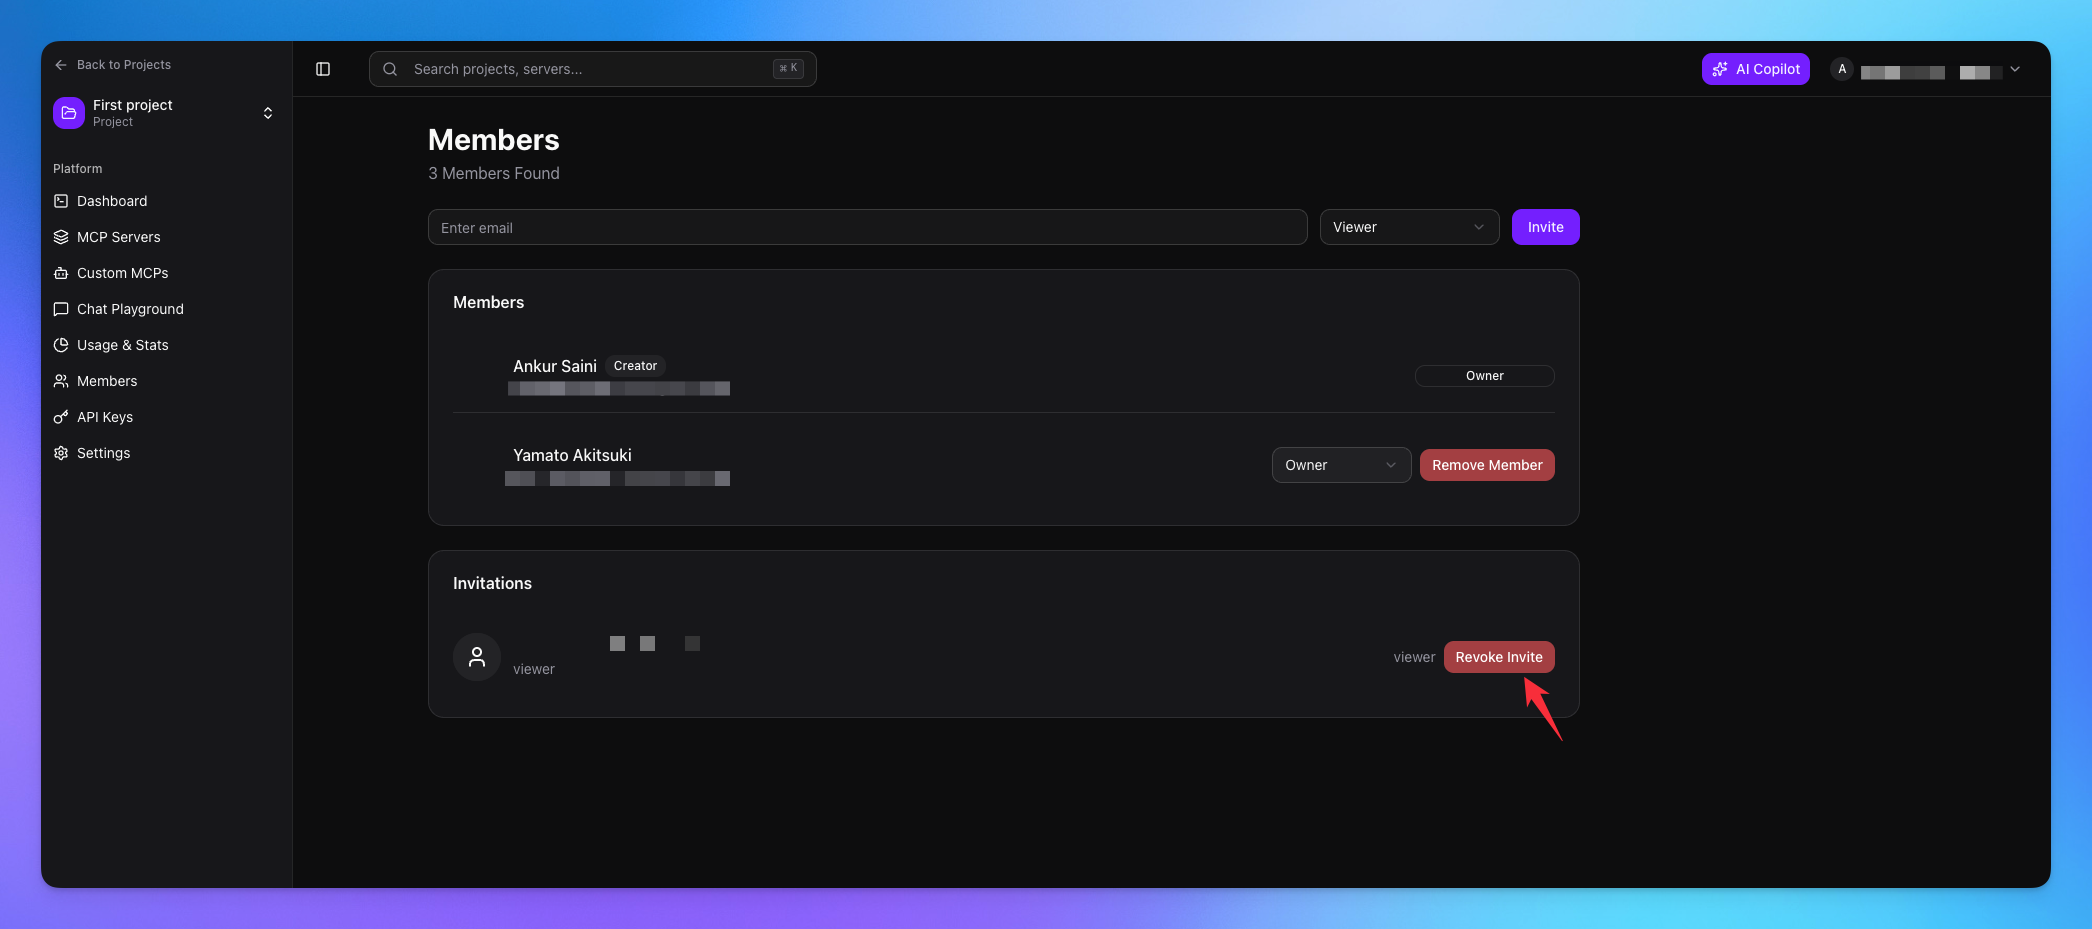
Enter the email address of the user you want to invite.
Select the role for that member.
Click Send to send the invitation.

Revoke Project Member Invitation
All sent project invitations are visible on the Members page.
Click the Revoke button to cancel an invitation
With MCP360 role management, you can control access across your organization and individual projects with ease. By assigning the right roles, updating permissions, and managing invitations, you ensure secure collaboration and smooth team operations throughout your workspace.